Tuesday, November 11, 2014

APQS MILLIE IS HERE!!!

Okay, I'm a pretty emotional shopper.  I see something I love, and if I can afford it and/or it doesn't cause hardship...I buy it!  But I'm fairly smart about it too, and in the case of a sewing machine, I have decades of experience as a textile artist buying them, using them up, upgrading, trading them in, and moving up to the next greatest thing.  In fact, I have three set up at work stations in my studio right now, with three other specialty machines standing by for use.  But this time, somehow, I got talked into buying before I should have.  In short order I found myself limited and disappointed by my very expensive mid-arm quilting system, and after three different repairmen and my very clever husband were stumped by my electronics problem, I knew I had to upgrade.  And I knew I wouldn't make the same mistakes again.

Priorities:
1.  Customer service and support!!  (NOT the kind where they're awesome until you leave the store, and then don't help you with issues or education, don't have a website, don't have a repairman, and pass the buck to second tier suppliers for any problems you might have, don't have a forum of other users, and when you finally get someone on the phone, IF they speak English, they make promises they don't keep, don't forward messages, won't transfer you to support or repair and leave you spinning that you spent as much as you would on a car for a device that only works 1/3 of the time.)

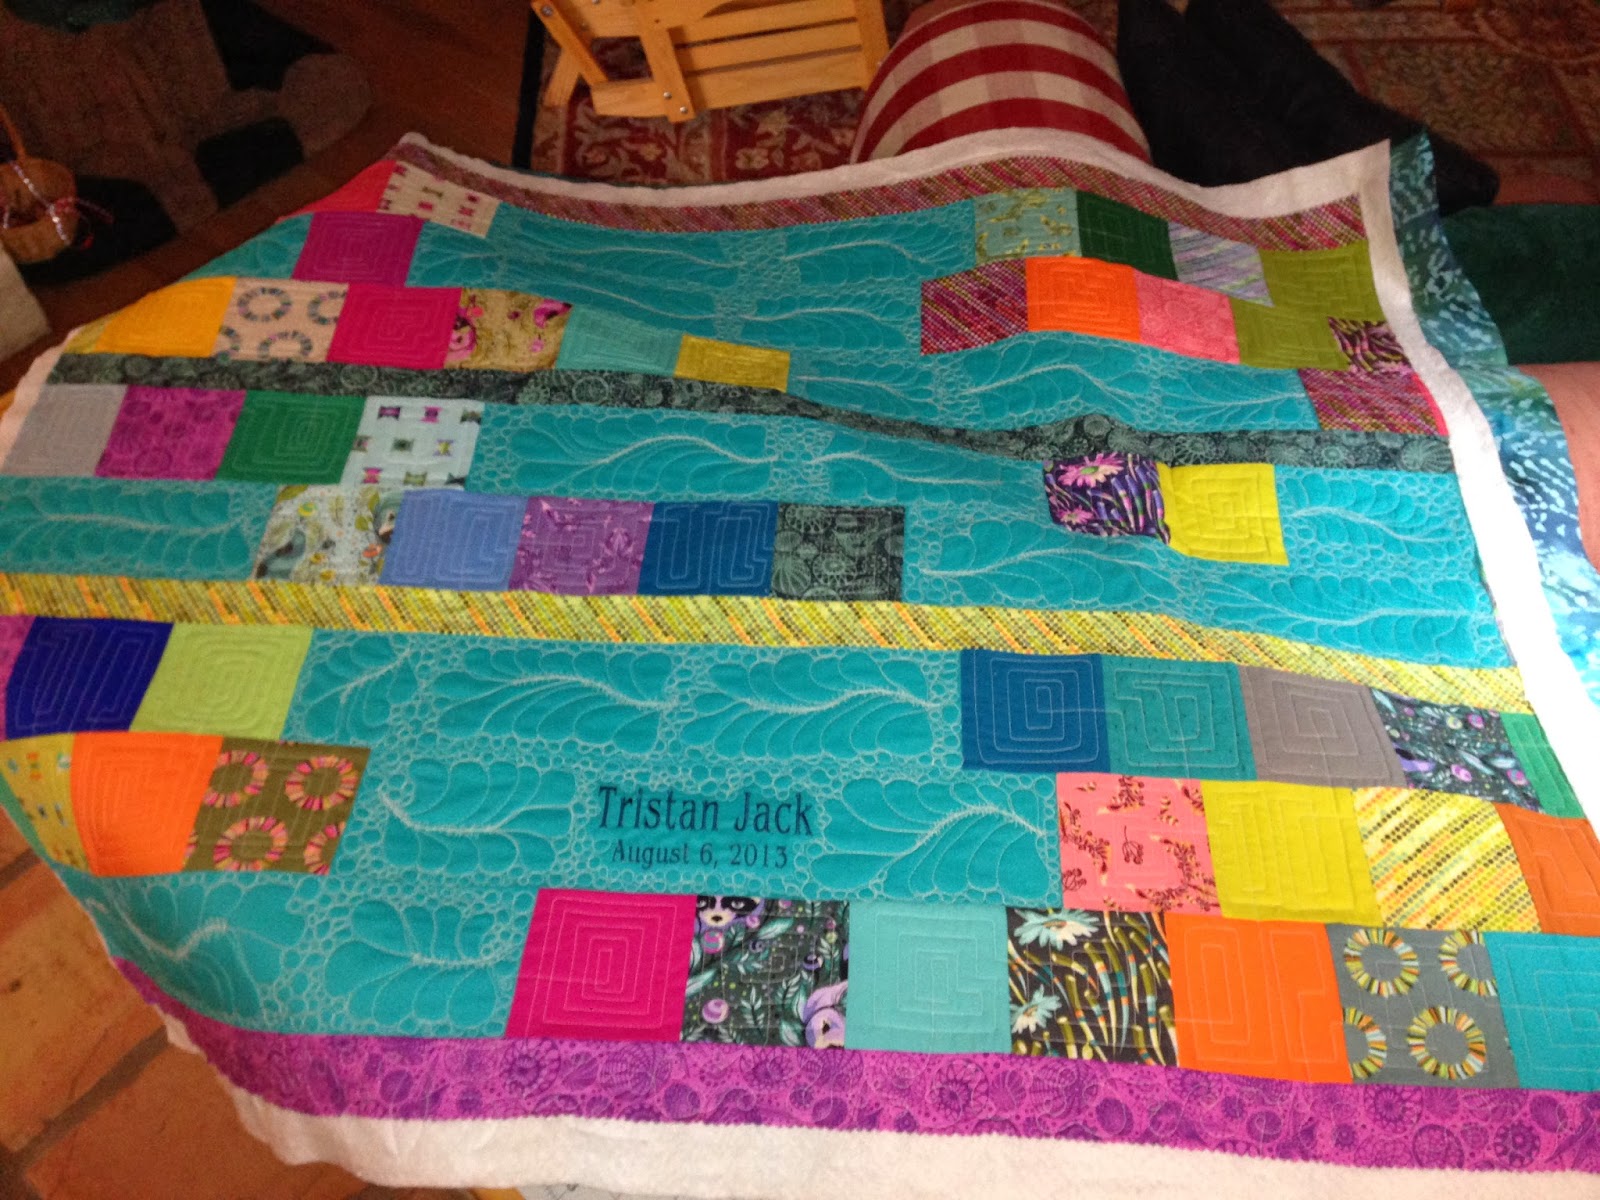
**upside, it made me a really good quilter on a limited use machine!**

2.  Education!!  Online access to videos, forums, email help, phone help, tech support, and follow through.  And even classes available to use YOUR SPECIFIC KIND OF MACHINE for all kinds of other techniques.

3.  Testamonials!!  Evidence that other users are happy, supported, and encouraged in their use of the equipment, and that they even upgrade to newer models or add on computers to the machines they have BECAUSE THEY LOVE THEM!

4.  And AFTER those first three, the physical improvements and upgrades I was looking for to make my quilting experience easier and to take me to the professional level I thought I bought into before.

Few purchases in my life have been as researched and thought out as my new quilter!!  I've spent months now scouring the internet, talking to other long arm quilters, communicating with others selling and buying new and used systems.  I've traveled hundreds of miles to 'test drive' the finalists on my short list.  I've made priorities, eliminated contenders, set a budget.  I've explored selling my old machine, re-arranging my studio for a larger system, watched every YouTube video available by manufacturers and by celebrity quilters.  I've looked into buying new, buying used, I've even emailed and FaceBooked folks using long arms for business and for pleasure to see what they love, hate and want.  I decided on APQS and spent another round online shopping used models.  Then watched for sales, promotions, and options for purchasing my dream machine.

Finally, a demo sale was too good to pass up with a lifetime warranty and all the bells and whistles I had dreamed of.  And today, the boxes are in my hall waiting for the installer tomorrow to "have me quilting by evening!"


Read what they print on the box!  These guys are awesome!!  And they love to make quilters happy.


Seriously?  They even put a red bow around the sewing machine inside the box.  More like Christmas every step I get to powering up!!


And Dave Binnquist who is the APQS dealer for California arrives tomorrow to put it all together and give me my first lesson.  I'm so excited, and so encouraged, and so glad to be back to work!!

Let's quilt!!!

Monday, October 27, 2014

Midnight Improv Lesson

What do you do when the family's out of town and you just finish binge-watching the last episode of Once Upon a Time in Wonderland and you just can't sleep?

Hit the scraps.  Even in the middle of the night...

I leave a basket by my cutting mat and drop in bits as I cut pieces for other quilt tops.  Then when I feel like sewing but don't have time for a new major project, this passes the time, uses up scraps and leaves me with cute little stocking stuffers or hostess gifts.  I add a little mat to a candle or vase or serving bowl as a one-of-a-kind homemade touch.

Easy as sew and slice.  I start with a few similar sized scraps and sew them together.  (right sides together, 1/4 " seams, just like any other quilt construction)  It works best if each seam is a straight line, not curved or wavy.  


Then I press them with the seams open, and square up my new block a bit.


And then it's time to slice.  I cut at an angle across the block and insert another scrap in the opening.  Sew both sides to the new insert piece, see photos.


Press and repeat.  You can add strips of other pieced sections instead of a solid piece of fabric.  Continue to press seams open and square the block as you go.  It doesn't have to be perfect, but have an idea of how large you want your mat to be and work in that direction.  Great for placemats, trivets, hot pads, and table runners.


When you have your mat the size you want, square it accurately and make a quilt sandwich with backing face down, batting in the middle, and pieced mat on top, face up.  If you're using this as a hot mat, you can add or substitute regular batting with heat resistant batting (like Insul-Bright brand) and quilt as desired.  Then square again, cutting off extra batting and backing, and bind as desired.  I like folded binding with 2 1/2" strips.

Quick, satisfying project that can be made with theme scraps (like Christmas colors) for all kinds of occasions.  

Give it a try and post a pic when you're done!!
Happy Quilting,
Beth  ;)


Monday, August 25, 2014

Fun with Free Motion


I've been working on my free motion filler designs with my mid arm machine in the studio, because practice gets me ready for my bigger projects and customer quilts...auditioning designs and trying out new fillers works better with stitches when you're ready to graduate from pen and paper or your dry erase board practice.

I usually try out new smaller designs "in the margins" on the outer edges of the extra fabric and batting for quilts I already have loaded on my frame, but I decided to try an actual sketch quilt instead of just doodling on muslin and batting.

No marking, no drawing, just jumped in with a vague idea and started stitching!

I  took a lovely tan 2 yard cut of Kona Solid, and used the fold for the center design marker and free handed a serpentine row of large bubbles to divide the practice space.  Then I used the outer edges along the selvage to try out two different free form feather styles and used pebbles and marbles background fillers on one side of the center line and McTavishing filler on the other.  

**for those of you free motion fans who have not picked it up, Karen McTavish has recently reissued her instructional book and DVD set to teach you how to be experts at this versatile and gorgeous design.  Pick it up on her website or at quilt shops near you!!**


The micro filler work is a little physically taxing if you don't remember to relax, so put on some music (flamenco guitar is my music of choice) and put one foot up on a little stool to take a little pressure off the lower back, and remember to take breaks to stretch from time to time.  

I make sure the light is good and a fan is on circulating air and keeping things fresh and bright.


To keep to the experimenting, I added an extra layer of batting under the feather design area and compacted around it with stitching (either pebbles or McTavishing) to press down the extra batting so I didn't have to do a lot of trimming between quilt layers.


When designs were finished and the quilt was bound I ran it through the washer and dryer to check out the shrinkage.  I love how the batting puffed up in the faux trapunto areas, and can now take these new skills to the next project.  

This was so rewarding and so much fun...although it's not a quilt for a bed or a gift or a client, I have it thrown over a shelf in my den, and it's the star of the room.  Practice makes perfect!!

Let's make another one!!  Happy Quilting!


Friday, July 11, 2014

Everyone's a Critic

I have three indoor cats.  They run the place.  My sewing space is no exception. 

It would be fine if they were a little more supportive of my hard work and creative projects but...

It always feels like a set or two of judgmental eyes are peeking out from under furniture or from around corners.  Every once in awhile, they are not so subtle in their unspoken comments:

Hey Raja, what do you think of this new free motion design I'm perfecting?


Abu, could you let me have those table runners?  I need to bind them.  Abu...Abu...


Raja, I've been packing up some scraps and UFO's.  Have you seen them?  Anywhere?  


Hadji, let me show you the quilt top.  It only took me six days of piecing to finish the blocks and sashing.  You're gonna love it...


Do you have any little 'helpers' in your work space?  I hope they are a little more supportive than mine are.  And that they are not lying around thinking of ways to get into trouble...


Thanks for the entertainment and the company, Hadji, Raja and Abu!!  Now hand me the lint roller...

Happy Quilting.  :)


Friday, June 6, 2014

PRECUTS EXPLAINED!!  The in's and out's and how big's, etc.

Recently, I taught a class at a local fabric/quilt/craft store, and was asked to describe pre-cut fabrics and review the subject for a group of new quilters.

I LOVE using pre-cuts to try out color palettes and to do smaller projects in no time flat!  It also helps me keep up with new trends without having so much fabric left over to add to my ample stash, and with the scraps, I've started doing improvisational piecing to make table mats that I can quilt along with larger projects and give as hostess gifts or use to try new free motion designs on my mid-arm quilter, or (and I love this application) I use them as demo projects for quilting classes to pass around as samplers to teach techniques.

So the overview is that pre-cuts came onto the fabric market to show off new fabric lines, and to promote easy-cut projects to the new generation of home quilters.  Moda Fabrics used the idea of sweets to label the various cuts and it sort of caught on.


Jelly Rolls:  2 1/2" by Width of Fabric (WOF, usually 42" to 44" wide)  strips with at least one fabric from the whole line of a designer's new offerings.  They are rolled up in a swirl and look like a sweet roll, hence the name (usually 40 strips).

Honey Buns:  1 1/2" by WOF strips presented in the same way.  A smaller version of the fabric line examples.

Layer Cakes:  10" squares, at least one of each fabric from a new line, usually around 40 squares.

Charm Pack (or Charm Squares):  squares measuring 5" x 5".

Mini Charms:  half the size of Charms, these small squares are 2 1/2" x 2 1/2".


Some companies use other names for their pre-cut bundles, since Moda has the 'sweet' names trade marked.  The 5" squares are sometimes called nickels, and the 10" square packs are sometimes called dimes.

Fat Quarters:  rectangles that measure approximately 18″ x 21″, sold individually or in stacks of collections or assortments of solids or batiks.


Besides new fabric lines, you can also get pre-cuts in single solids,  (to use for sashing or binding or borders)  collections of colored solids, and collections of batiks usually grouped in color ways.   These are excellent for baby quilts, smaller projects like table runners and lap rugs, place mats, hot pads and home dec projects.  

You not only save loads of times cutting pieces to size, but you also get the fun of sampling so many new and trending styles that you might not purchase in larger yardage.  

Pick something yummy (and low calorie) the next time you're at the quilt shop and give a quick project a try...can become addicting!! 


Wednesday, May 7, 2014

COPYRIGHT - to share or not to share
(or Share and Give Credit)

I've been reading a wonderful 'sampler' book about the modern quilting movement and many of the leading modern quilters and their work.  I highly recommend "Quilting With a Modern Slant" by Rachel May!

A common question discussed in this book, and also in several magazine articles I've recently read is that of copyright.   Does a designer 'own' a quilt pattern?  Since there are so many quilt block designs that have been passed around for hundreds of years, if you arrange them and choose the fabric, do you own that new arrangement?   And what about fabric companies that put out 'designs' for quilts using a collection of their fabrics?  And magazine projects 'designed by' various contributors?  There is a lot of gray area regarding what constitutes a singular design or a unique pattern or a style applied to a traditional work.  And more importantly who owns it, and how do you prove it?  Happily, quilters are a generous lot.

I love the approach most quilters are taking in the way of "share, but give credit".  I think that handles the issue nicely!  If you make your own version of someone's quilt pattern or design, don't just mention the name of the block you used, but also where you saw the quilt, your inspiration for it, and the name of the quilter who inspired you.  If you do a variation of someone's printed or published pattern, mention it and who the designer is.

This puts the emphasis on sharing with respect, not owning or stealing.  This approach is called:  Attribution Share Alike license according to Rachel May in her book.  

With online tutorials vs paid instruction, free patterns vs purchased design instructions, etc. it is hard for many creative artists to make a living.  So I guess it is up to us to support artists and crafts people when possible by paying for their services and purchasing their work, while appreciating the generosity of those who provide free patterns and instruction without taking advantage of them.

And it's also up to us as individuals to find our own unique voices in our creative expression.  Then...

...give it away.  Teach someone how to sew.  Donate a quilt to a charity project.  It's certainly a way to leave our mark when ideas are so intangible and talents are so diverse.

I want to give this more thought.  What do you think?


Two samplers quilted with patterns taught in Angela Walters free motion class on www.Craftsy.com.    ;)

Wednesday, April 30, 2014

MACHINE QUILTING - Free Motion Adventures

I have had the benefit of a few weeks off between jobs, and have thrown my shoulder into trying new things and learning about new techniques I can share with all of you.

As I was mounting a lot of smaller projects on my quilt frame to finish, I wanted to try out some odd designs inspired by my two free motion heroines:

Angela Walters:  http://www.quiltingismytherapy.com   and
Karen McTavish:  http://www.designerquilts.com

who inspire me with their love of family, quilting, and fitting creativity into their already colorful lives.

This table runner I made with whole cloth center and a cute complimentary border so I could just flex my new ideas onto a negative space.  I'm pretty happy with the outcome, and can't wait to see it laundered...as this will enhance the stitching in the center panel with shrinkage and puff up the unstitched areas in the feathers and swirls and larger pebbles.  (I use 100% cotton fabrics, and 100% cotton batting so I can achieve the vintage look after the first laundry and experiment with what the shrinkage does to different densities of quilting.)

Yay, mentors.  Yay, free time.  Yay, experiments and the creative process!!


Tuesday, March 18, 2014

COWGIRL BOOT SOCKS TUTORIAL

To honor National Craft Month, and my newly adopted Friesian mare, ZaZou, who has me wearing boots almost every day, this month's tutorial has little to do with quilting!

Saw these walking down the street, and came home and whipped some up.  (My daughter is into country line dancing at college, so this will be a fun Easter present when she comes home for Spring Break)

You need:

knee socks that pull up a little taller than your cowboy boots
scraps of ribbon, novelty yarn, lace, rayon seam binding, and other      fluttery things...
sparkly buttons, or bits of broken jewelry
a needle and matching thread (button hole twist works well)


Pick out two sets of items to sew at the back center of each of your socks.


Sew the lace, ribbon, etc together firmly.  Add the buttons, also sewn firmly on top.  Then attach to your sock with button hole thread if you have it, or doubled thread if you don't.


Scoot a boot!  You've got little streamers following you that will stop traffic...and hopefully a stampede.

Happy National Craft Month!!  MAKE SOMETHING!!!  xo


Friday, March 14, 2014

COUNTDOWN TO NATIONAL QUILT DAY!!!

A few more memory lane quilt favorites...


Butterscotch Busy Bee panel quilt, with dense and gorgeous bee design machine embroidery and all over stipple free motion quilting on a domestic construction machine.  


A special Bridal Garden Path neutral quilt with extensive machine embroidery in the central panel element.  Lap Quilt size.


A musical embroidery quilt for a music student's dorm room, bordered in novelty fabric and coins, and each corner with an additional machine embroidered element.


Landscape art quilt for my mom.  It now hangs in my dad's home after her passing.  Machine embroidered flora and fauna on loose edge appliquéd batik elements.  Heavily free motion quilted to match design elements...clouds, bark, plants, grass.


Small banner quilt with Curlz machine embroidery and a three dimensional bow and trims...lighting the way to a special day.

I have a fast and fun tutorial planned for the upcoming days of National Craft Month, so please check back...

Happy Sewing!!!


Thursday, March 13, 2014

MARCH IS NATIONAL CRAFT MONTH!
MARCH 15TH IS NATIONAL QUILT DAY!!

In honor of each, I wanted to do a round up picture post of some of my favorite projects.


Baby Tatum's Circus Horse (quick and easy) with machine embroidery and name and birthdate embroidered, then bordered and free motion quilted for a fast but super fun project.


Jelly Roll Race Tablerunner Project on my YouTube Channel Vlog.  One Jelly Roll made a quilt that was then sliced into three table runners, bound and gifted for a fast weekend gift project.


Table Top square, stack and whack table runner, hot pads, table mats galore!  Projects from my book, Bewitching Fresh Stitching, available autographed at my Etsy store, or online as an eBook or soft cover copy.

Be back in a couple of days with a new National Craft Month quick tutorial!  You Cowgirls out there will love it!!!

:)  Beth

Tuesday, February 25, 2014

Finished!  Tristan Quilt Part 4

I decided to practice modern shaped feathers and geometric squares for my actual machine quilting design elements.  I didn't want the feathers to be feminine or fussy, so I squared them off a little and did a zig zag down the spine centers and surrounded them with pebbles in the plain turquoise sections.  Then, in the print squares, I did squares spiraling in and cutting across to the next square in a continual line fashion.  It was fun and easy and I could work in bursts when I had 20 minutes here or an hour there.  I used cream thread in the bobbin and on top to contrast the embroidery thread in Tristan's name, and so that the designs didn't fade into the fabric color.  Also...purely practical...I couldn't find the right shade of turquoise in quilting weight cotton thread, and I didn't want to stray from my all cotton policy, especially in a baby quilt that will be laundered a bunch and (hopefully) used till it's in tatters!!


After the machine quilting was done, I cut the quilt off the frame.


Then I squared up the edges on my cutting mat with my ruler and rotary cutter (it's easier on a smaller quilt like a baby size or a lap rug).


Then I added the binding (you can see instructions for both of these steps in other posts here on my blog, or in videos on my YouTube Channel).  For binding strips, I used miscellaneous other bits from the same fabric line (Acacia, by Tula Pink) from the jelly roll I purchased.  2 1/2" strips of adorable!!  I made sure to have the binding line up with different colors than the quilt top fabric so it frames the finished product with more color pop.


And I hope Tristan and his family will use this up and wear it out,  in the best of health and happiness...here is Tristan's Quilt.