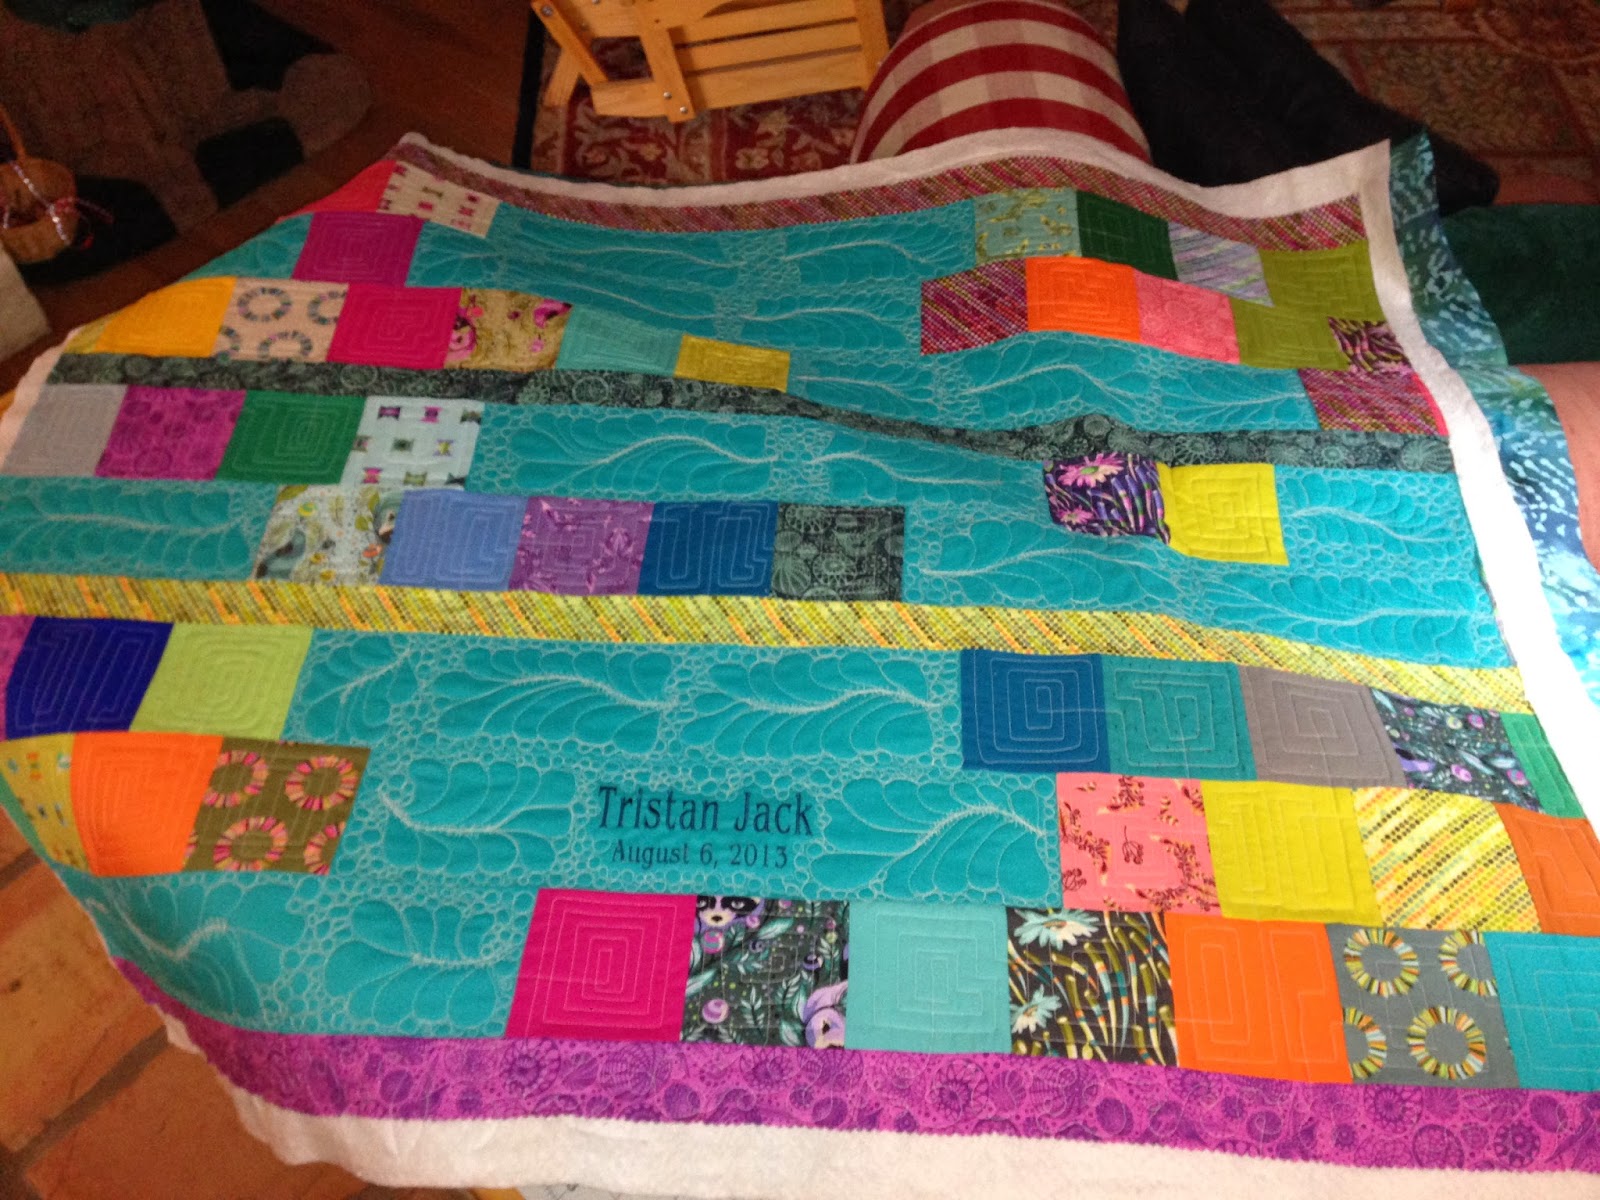
I decided to practice modern shaped feathers and geometric squares for my actual machine quilting design elements. I didn't want the feathers to be feminine or fussy, so I squared them off a little and did a zig zag down the spine centers and surrounded them with pebbles in the plain turquoise sections. Then, in the print squares, I did squares spiraling in and cutting across to the next square in a continual line fashion. It was fun and easy and I could work in bursts when I had 20 minutes here or an hour there. I used cream thread in the bobbin and on top to contrast the embroidery thread in Tristan's name, and so that the designs didn't fade into the fabric color. Also...purely practical...I couldn't find the right shade of turquoise in quilting weight cotton thread, and I didn't want to stray from my all cotton policy, especially in a baby quilt that will be laundered a bunch and (hopefully) used till it's in tatters!!


After the machine quilting was done, I cut the quilt off the frame.

Then I squared up the edges on my cutting mat with my ruler and rotary cutter (it's easier on a smaller quilt like a baby size or a lap rug).
Then I added the binding (you can see instructions for both of these steps in other posts here on my blog, or in videos on my YouTube Channel). For binding strips, I used miscellaneous other bits from the same fabric line (Acacia, by Tula Pink) from the jelly roll I purchased. 2 1/2" strips of adorable!! I made sure to have the binding line up with different colors than the quilt top fabric so it frames the finished product with more color pop.

And I hope Tristan and his family will use this up and wear it out, in the best of health and happiness...here is Tristan's Quilt.


